
Here
are my tools. I'm using: Sculpey Super Slicer, Sculpey 5 in
1 Tool Set including blade, pointer, metal ball end and two
flexible shapers, Sculpey Acrylic Roller, a 7.5mm knitting
needle, super glue, Newplast clay, scolaquip colour clay and a clay
stand I made for putting the eyes on for baking.
Production:
Here are photos of the wire armatures I have made:
First is the body armature, made from 3mm wire and epoxy glue.
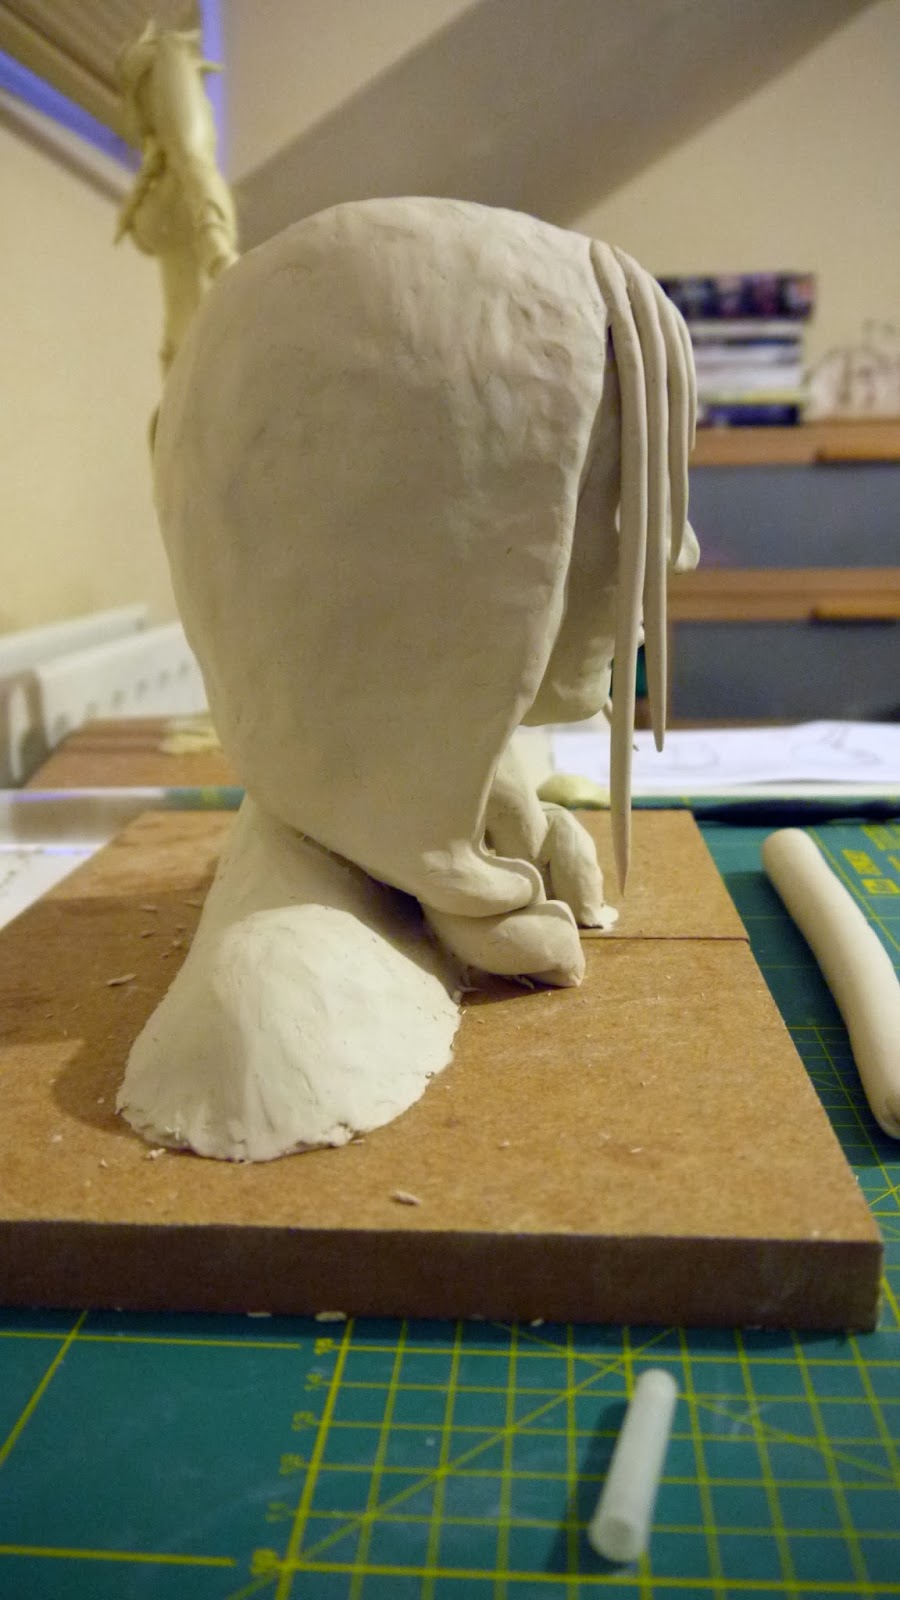
Followed by that is the wire armature for the head of the bust. After the wire and epoxy glue stage I then wrapped the head in foil, this is to pad it and keep it light. If I filled that space with clay it would have been really heavy, and would cost a lot for that amount of clay. I then blocked out the clay on the head and will move onto adding details.


After this is just building up then refining the clay so I'm going to post the photos in order of when I took them so you can see the process:


Digital Models
So now I've finished my maquettes it's time to move onto the digital models, with the aid of the maquettes this process has been slowed by me having to learn ZBrush. I'll upload screenshots through out the process.


Here I've used the curve tube tool to add the fringe, there's a bit more detailing and a bit more repositioning.

Bit of a leap between this and the last screen-shot, here I have yet again repositioned the face, reshaped the nose and mouth, added detail to the eyebrows, added in eyelashes using a brush from http://www.badking.com.au/site/product-category/custom-brushes/ and added detail to the hair. the next step was texturing and colour which was all done in ZBrush, the following video shows the final result.

I've finished the full-body model but I'm going to post the process anyway, I won't talk about them, they're pretty self explanatory and follow the same process as the bust:


So after all this I then created UV maps in ZBrush. Then it was onto the normal maps (an image which allows the model to have extra details such as creases without physically being there, this allows for the model to have less polygons and be easier on the program being used to animate). I made these by using a program called XNormals, I saved a high poly version of every layer in ZBrush then a low poly version, put these both into XNormals and it makes a normal map. This allowed me to reduce my poly count (the amount of polygons the model is made up of. The more there are the harder it is for the animation program to handle it.) drastically. The it was onto texturing. I did this in Auto Desk's Maya. I imported all the parts of my model which had their UV maps, grouped them so they would move as one item, then applied the normal maps. After all that it was time to move the objects, one by one, into AutoDesk's Mudbox. Here I could make a texture file for each item. I saved a basic texture from Mudbox and opened them in Photoshop. Here I cleaned them up a bit and any extra details I wanted. I then applied them to the model. This happened:
Not sure how well you can see on this image, but the body is transparent. You can see some weird light colours on her lips and chin. This happened to every part of her. Luckily she still rendered out fine in mentalray. However, me being me, I wasn't going to settle for a semi-transparent model. So I looked into it. Turned out to not be so hard to fix. (This is going to be technical, sorry any non-Maya users) I went into the hypershade, from here I selected each object that was effected, individually, right-click, drag down and clicked onto graph network. Here you can see all nodes going to the object. For some reason Maya automatically assumes that if you are applying a texture, surely you want that transparent right? So I clicked on the connection, hit delete and then ctrl+z. The advice I had got was to delete the transparent connection, as I couldn't access that on it's own I deleted it, then realised I needed a connection, didn't know how to add one so hit ctrl+z and it worked. Yes I got this to work by accident. But that's how the best things happen right? So that was that sorted. Here is it finished:

Now just to finish my animation bible and that's the products done. The end is in sight!
No comments:
Post a Comment